Tying Off a Weather Balloon
What You Need
- Fully Inflated Weather Balloon - see our Inflating a Weather Balloon tutorial.
- Three Elastic Bands - Elastic bands comes standard with our Eagle Pro Kit. Also available at most office supply stores.
- A 5 cm ~ 2 inch Diameter Loop of Flight Line - the attachment point between the balloon and the flight train. Just cut a length of flight line 15 cm ~ 6 inches long and tie the ends together.
- Electrical Tape - comes standard with our Eagle Pro Kit.
- Helpers - it’s possible without them, but extremely challenging even for the experienced.
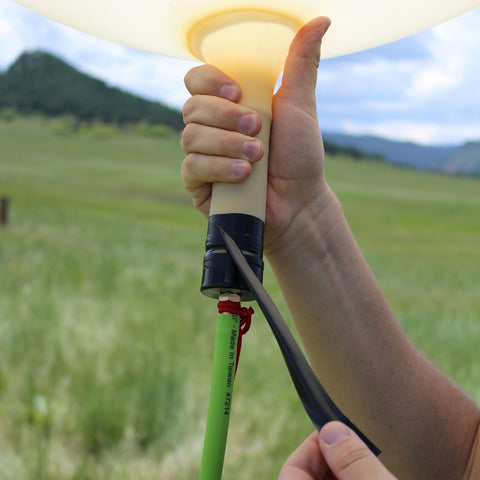 Step 1 - Carefully remove the balloon neck from the inflation nozzle. Grip the balloon neck / inflator nozzle with one hand and pull down on the electrical tape pull-tab you created before inflating your weather balloon. The inflator nozzle will now easily slide out of the balloon neck.
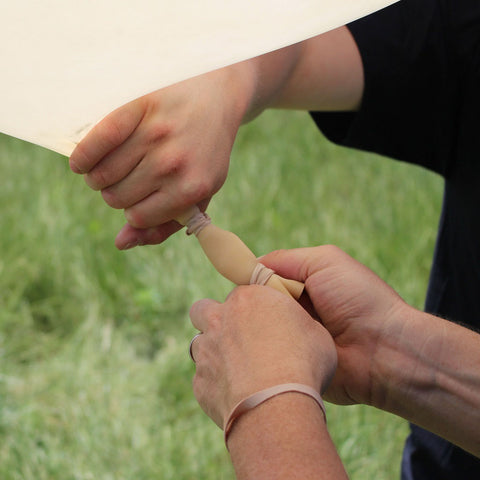
 Step 2 - Have a helper grip the balloon neck. Have them securely grip the balloon's neck between their thumb and forefinger with their thumb and forefinger facing down. This keeps your helpers' extra fingers clear of most of the balloon neck where you'll be doing all the work.
 Step 3 - Loop-twist-loop-twist an elastic band roughly 3 cm from the top of the neck. If you have long hair, you'll recognize loop-twist-loop-twist as the method used to tie your hair in a pony tail using an elastic hair tie.
 Step 4 - Loop-twist-loop-twist a second elastic band roughly 3 cm from the bottom of the neck. This step adds a second layer of redundancy to ensure no helium leaks out of the balloon neck.
 Step 5 - Place your 5 cm loop of flight line over the neck of the balloon. Fold the neck in half and have your helper clamp the end of the neck under his thumb and forefinger.
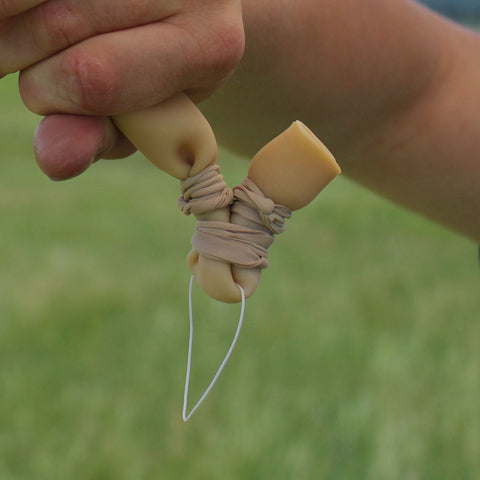 Step 6 - Loop-twist-loop-twist a third elastic band just above the fold point in the balloon neck. This secures the loop of flight line within the fold of the neck.
 Step 7 - Wrap the balloon neck in electrical tape. This secures everything in place and gives yourself peace of mind that you aren’t just relying on elastic bands to keep everything together.
Next
FAQs
Why use elastic bands and not flight line or zip-ties to tie off the balloon neck?
The reason we like elastic bands is because they:
- Provide a lot of clamping force
- Don't require you to tie knots at eye level (It's awkward)
- Don't require you to snip the ends of strings or zip-ties (Sharp things near a balloon is always a bad idea.
If you want to use flight line or zip-ties instead of elastic bands, that's fine. Just be careful.